I used to work for a non-profit that sent me on wild and sometimes odd adventures around the country. One of those times I was flying back to San Diego from a wedding and was asked to get off the plane and meet up with one our traveling teams in the southeast. I ended up in downtown Atlanta, in an industrial loft of friends of a friend, singing "Wagon Wheel," making food, and dreaming about tomato cobbler. I can't remember the conversation trail to how this idea came about, but it's been in the back of my mind since. While there are many things that I love about living in California, my southern roots miss the warm, carb-topped comfort foods that epitomize the South. Tomatoes, chicken, and biscuits are pretty humble staples of southern cuisine, but plenty of magic can be made from them. This warm and savory cobbler, with a hint of spicy harissa, is the perfect transitional dish from late summer into those early fall, cool nights.
I've included a few variations to this dish, as the both the filling and biscuits recipes can work on their own. The cobbler can easily be made vegetarian by skipping the chicken and going straight tomato or subbing for vegetables like roasted zucchini and cauliflower. You can also short-cut this recipe by using store-bought biscuit dough (but trust me, if you have the extra time, it's worth using scratch-made biscuits).
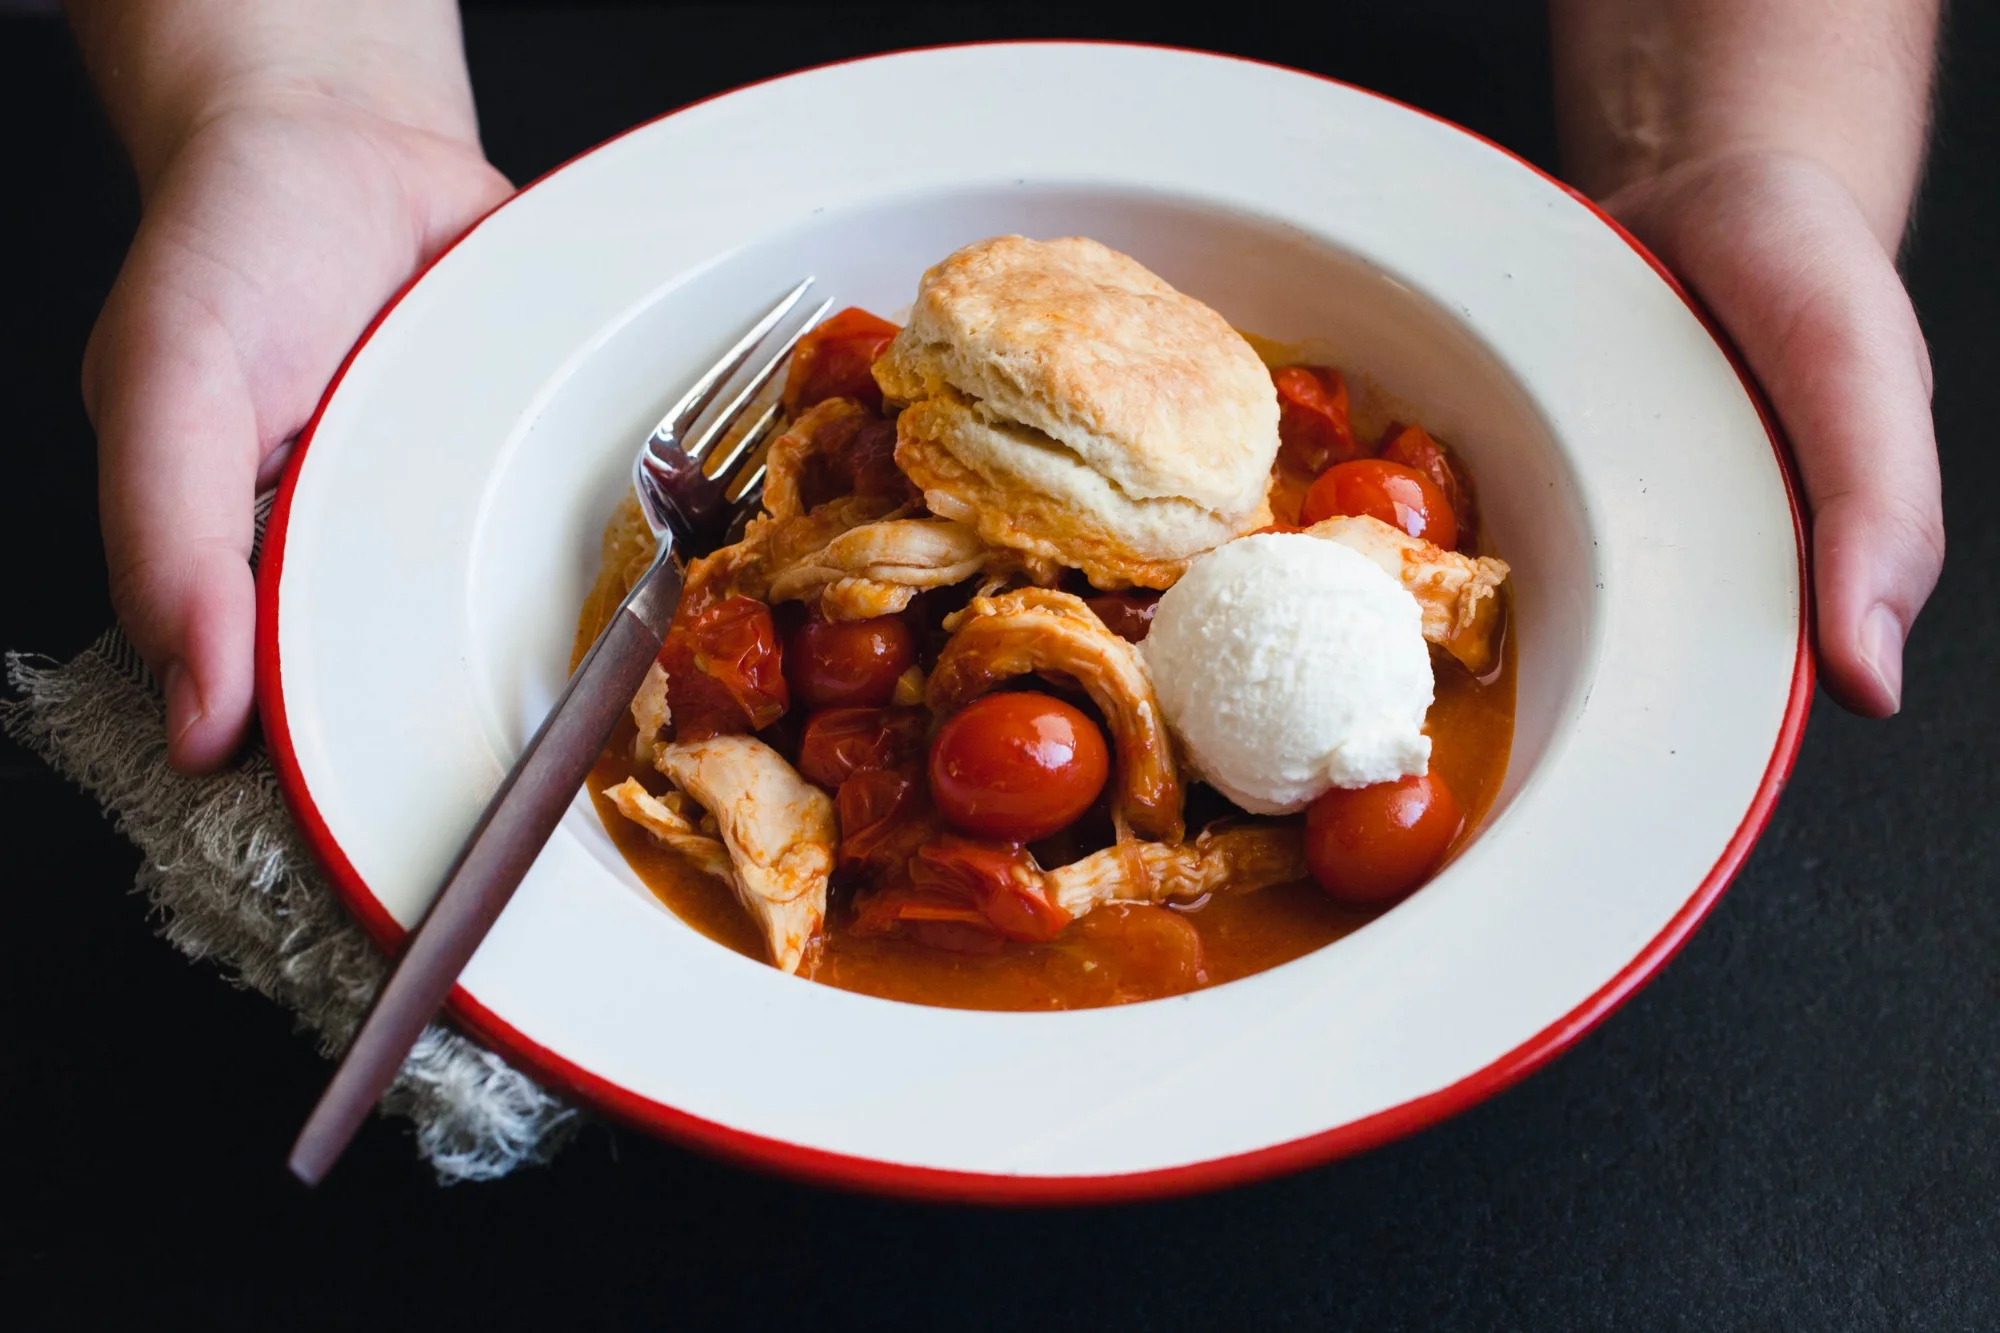
Savory Tomato Cobbler
COBBLER FILLING
- Olive oil
- 1 lb boneless chicken (optional)
- 2 Tbsp sherry or wine vinegar
- 1 small white onion, halved and thinly sliced
- 4 garlic cloves
- 1 1/2 tsp ground cumin
- 1 tsp ground fennel seeds
- 4-6 tsp harissa paste
- 2 lbs of heirloom cherry tomatoes
- 3 Tbsp cane sugar
- Zest of 1 lemon
- 1/2-1 tsp kosher salt
- 1 Tbsp + 1 tsp cornstarch
- Biscuit Topping (recipe follows)
- Heavy cream or ricotta for serving (optional)
Heat a wide pot or large and deep skillet over a medium flame and add two tablespoons of oil. Brown the chicken for 5-6 minutes on each side. Set aside.
Reduce heat to medium-low and deglaze the pan with 1 tablespoon of vinegar. Add another tablespoon or two of oil to the pan and stir in the onions. Cook for 10-15 minutes, stirring occasionally until the onions soften and start to turn translucent. While the onions are cooking, mince the garlic and cut about three-quarters of the tomatoes in half, leaving a handful or two whole.
When the onions have softened, add the minced garlic, cumin, fennel, and harissa. Stir and toast the spices until fragrant (about a minute). Add in the tomatoes and sugar, stirring until combined. Heat until the juices come to a soft simmer. Continue simmering for 20 minutes to reduce the tomatoes and lower the heat if the juices begin to boil or come to a hard simmer. Gently stir on occasion to keep them from burning, taking care to not break down the tomato piece too much. After 20 minutes, mix in the remaining tablespoon of vinegar, lemon zest and half a teaspoon of salt. Taste and add additional salt, if necessary.
Shred the chicken and fold into the tomatoes. Mix cornstarch with a tablespoon of water and add to the tomato mixture. Simmer for a few minutes, until the mixture starts to thicken. Remove from the heat. Fill a 10” deep dish pie pan, cast iron skillet, or other oven-proof dish of similar size with the mixture. Set aside.
Preheat your oven to 400℉. Make the biscuit topping (instructions below) and place biscuits over the tomato filling, leaving a few small gaps for the cobbler to release moisture as it bakes. Brush the tops with the remaining tablespoon of milk. Place in the middle rack of your oven with a baking sheet or piece of foil underneath to catch any bubbling. Bake for 20-25 minutes or until the tops of the biscuits are a nice golden brown and the cobbler is bubbling on the edges.
Remove and serve warm in a bowl with a small pour of heavy cream or scoop of ricotta.
BISCUIT TOPPING
- 2 1/4 cups all-purpose flour + some for dusting
- 2 tsp baking powder
- 1/4 tsp baking soda
- 1 tsp cane sugar
- 1 ½ tsp kosher salt
- 6 Tbsp cold butter, cut into small cubes
- 1/2 cup whole milk ricotta cheese or sour cream
- 1/2 cup whole or buttermilk + 1 Tbsp set aside
In the bowl of a food processor, combine all dry ingredients, minus the butter, and pulse to thoroughly combine. Add the butter and pulse a few times until the largest pieces are the size of English peas. The texture should be crumbly with only a small number of big butter pieces. You can also use work the butter in with a pastry cutter or by hand (like you would for a pie crust) if preferred.
Pour dry mix into a large mixing bowl. Whisk the ricotta and milk together until the texture is mostly smooth. Pour a third over the flour mixture and begin gently folding everything together with a fork, just until the wet and dry ingredients are beginning to come together. Continue in thirds until the milk is fully incorporated. At this point, you will finish the process mostly by hands (things will get a bit messy, but that's part of the fun). Knead a few times by hand until the shaggy dough starts to form a single mass. The dough will look a bit dry and crumbly.
Lightly flour a smooth surface and turn out the dough. Gently fold the mixture together a few times to incorporate most of the dry goods. Press into a 1.5-2” thick rectangle, working any bits of dry goods left into the sticky areas of dough. Cut the dough in half, crosswise, using a bench scraper or knife. Stack one half on top of the other and press down to flatten a bit. Sprinkle the dough and work surface with additional flour, if needed, to help keep the dough from sticking to your hands or the work surface. Roll the dough to 1” thick rectangle. Cut the biscuits into squares with a knife or circles with a round biscuit or cookie cutter. The dough should yield 8 pieces. Use any scraps to fill major gaps in the cobbler top, or reform into a small biscuit and bake separately for a cook’s treat.
VARIATIONS
Chutney: Skip using the chicken and begin the recipe until you start simmering the tomatoes. Extend the simmer time to 40-50 minutes, stirring frequently, until they become thick like preserves. The tomatoes are done when you can pull a spoon across the bottom of the pan and it creates a clear trail with the tomatoes flowing back in to fill the space in a second or two. Add the remaining vinegar and half a teaspoon of salt. Taste and adjust seasoning if desired. Remove from heat and transfer to sterilized jars for water bath preserving, or an airtight container and refrigerate for up two weeks.
Biscuits: Make dough as directed until forming the initial rectangle. Cut into quarters and stack each on top of each other. Press down to flatten a bit. Sprinkle the dough and work surface with additional flour, if needed, to help keep the dough from sticking to your hands or the work surface. Roll the dough to 1.5” thick rectangle. Cut the biscuits into squares with a knife or circles with a round biscuit or cookie cutter.
Place on a lined baking sheet 1-2” apart and brush the tops with remaining tablespoon of milk or melted butter. Bake on the middle oven rack for 20-25 minutes or until a deep golden brown on top. Remove from the oven and carefully move the biscuits to a cooling rack. Enjoy, hot, with soft butter and drizzled honey or a generous slather of tomato chutney.